Step 1: Creating an action
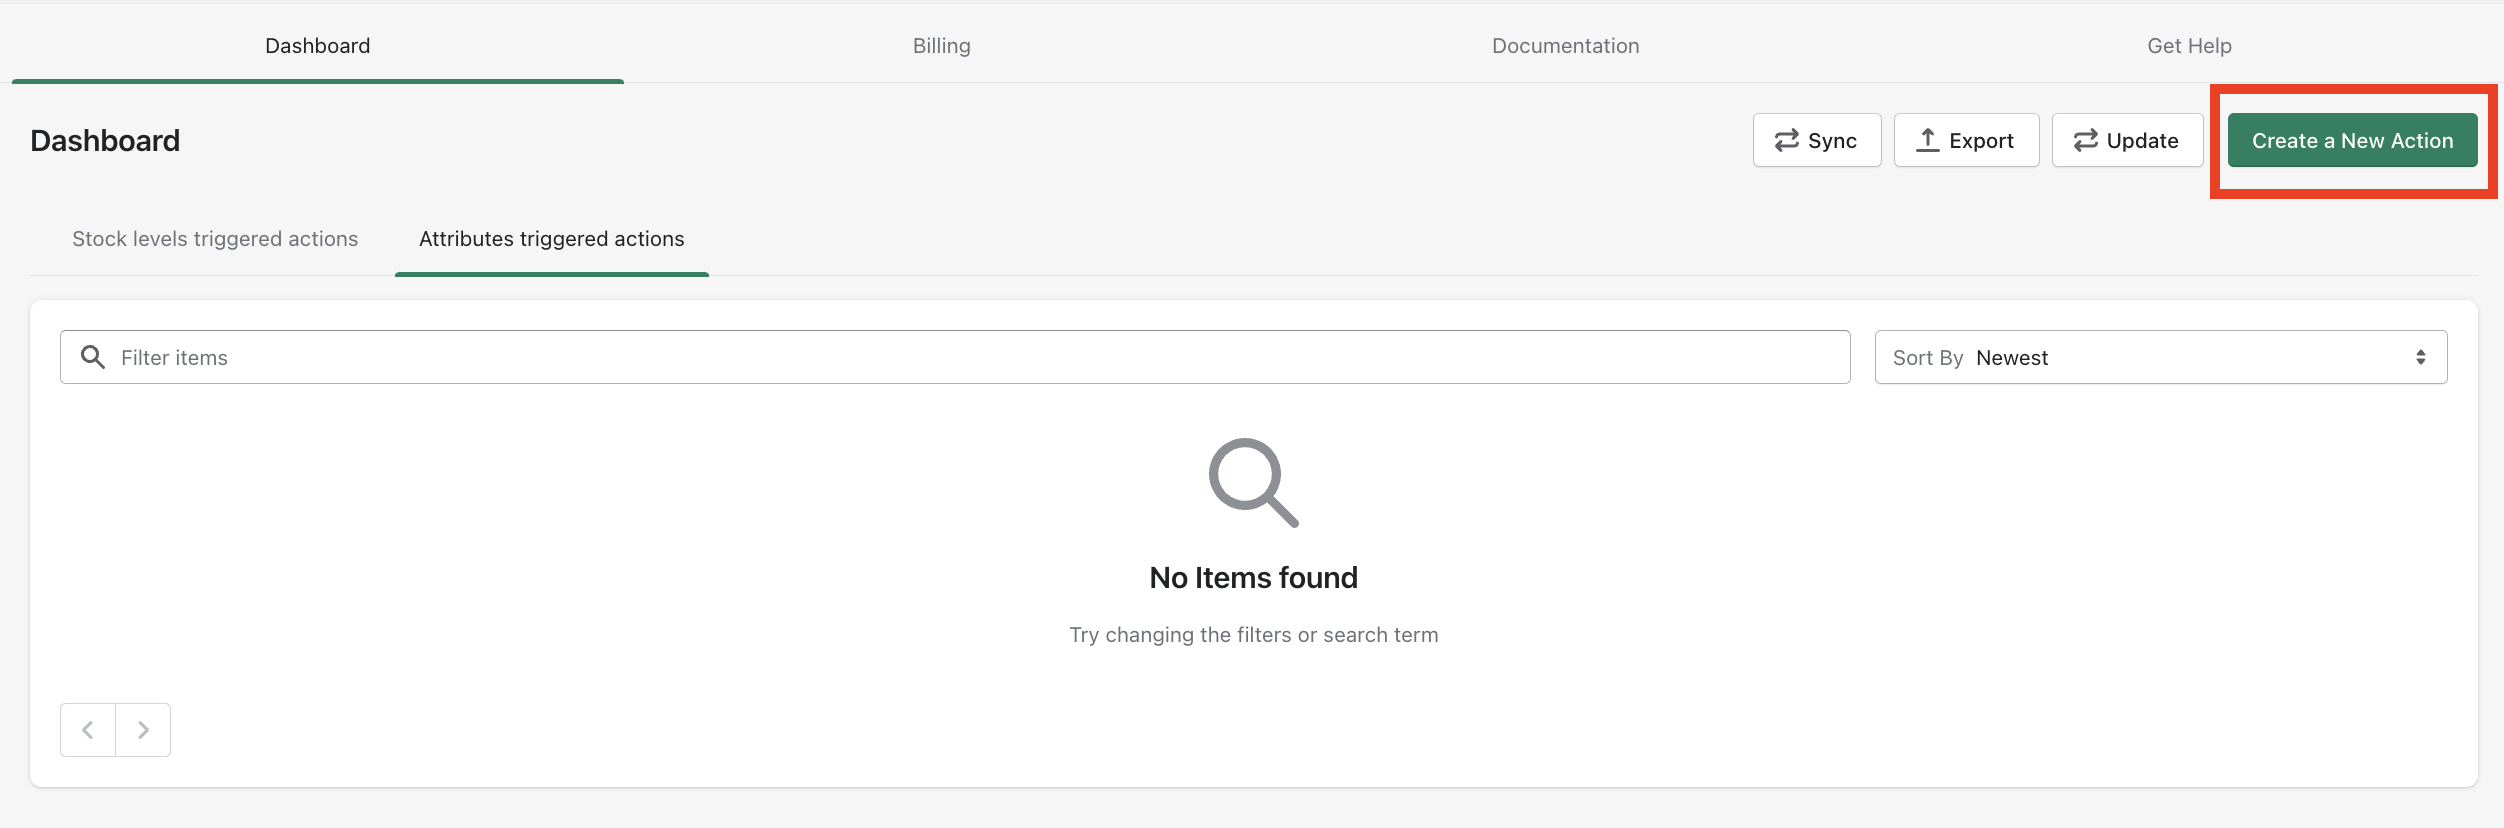
On the StockHide Dashboard, click on “Create a New Action” button on the top right.
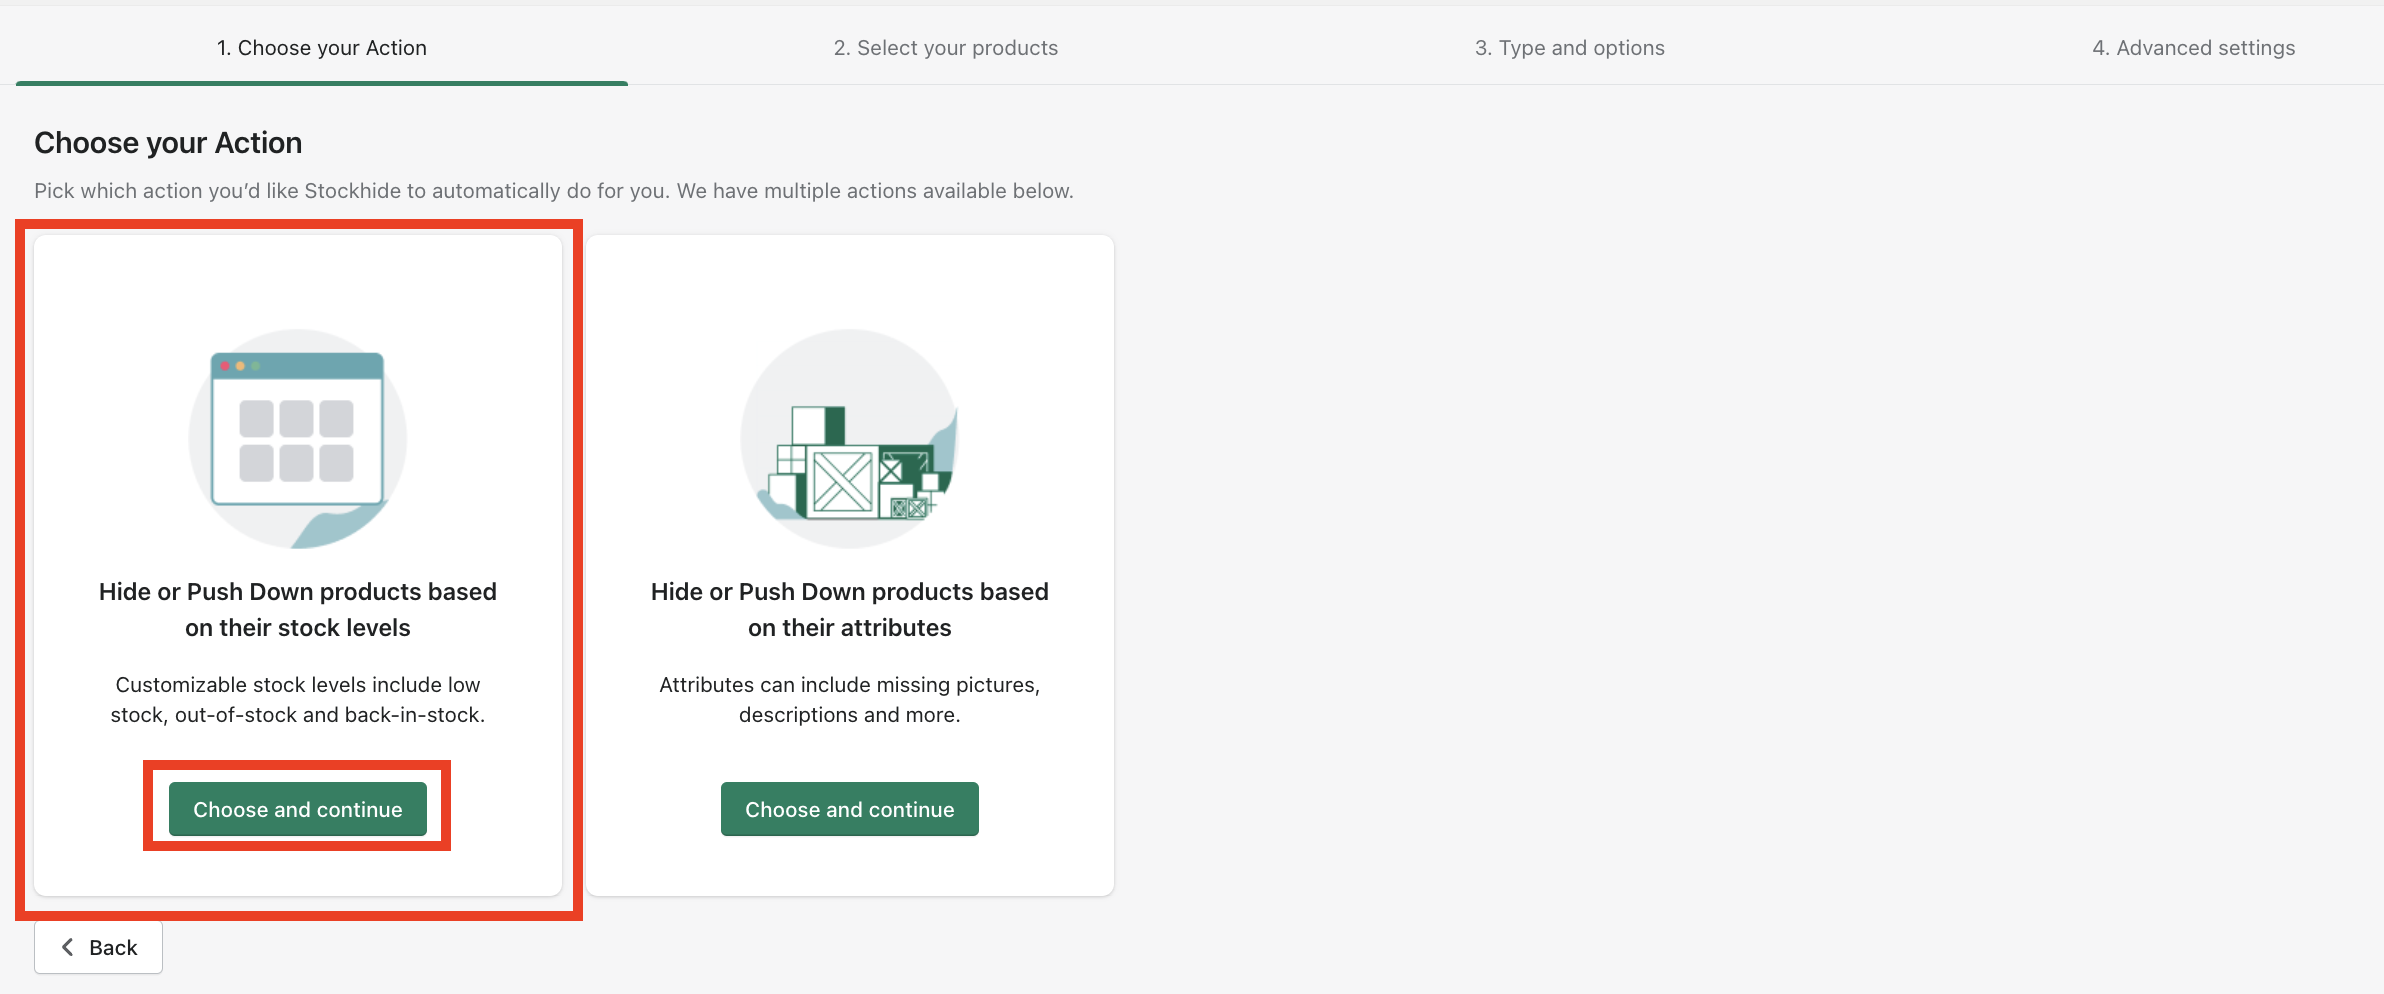
Choose "Hide or push down products based on their stock levels".
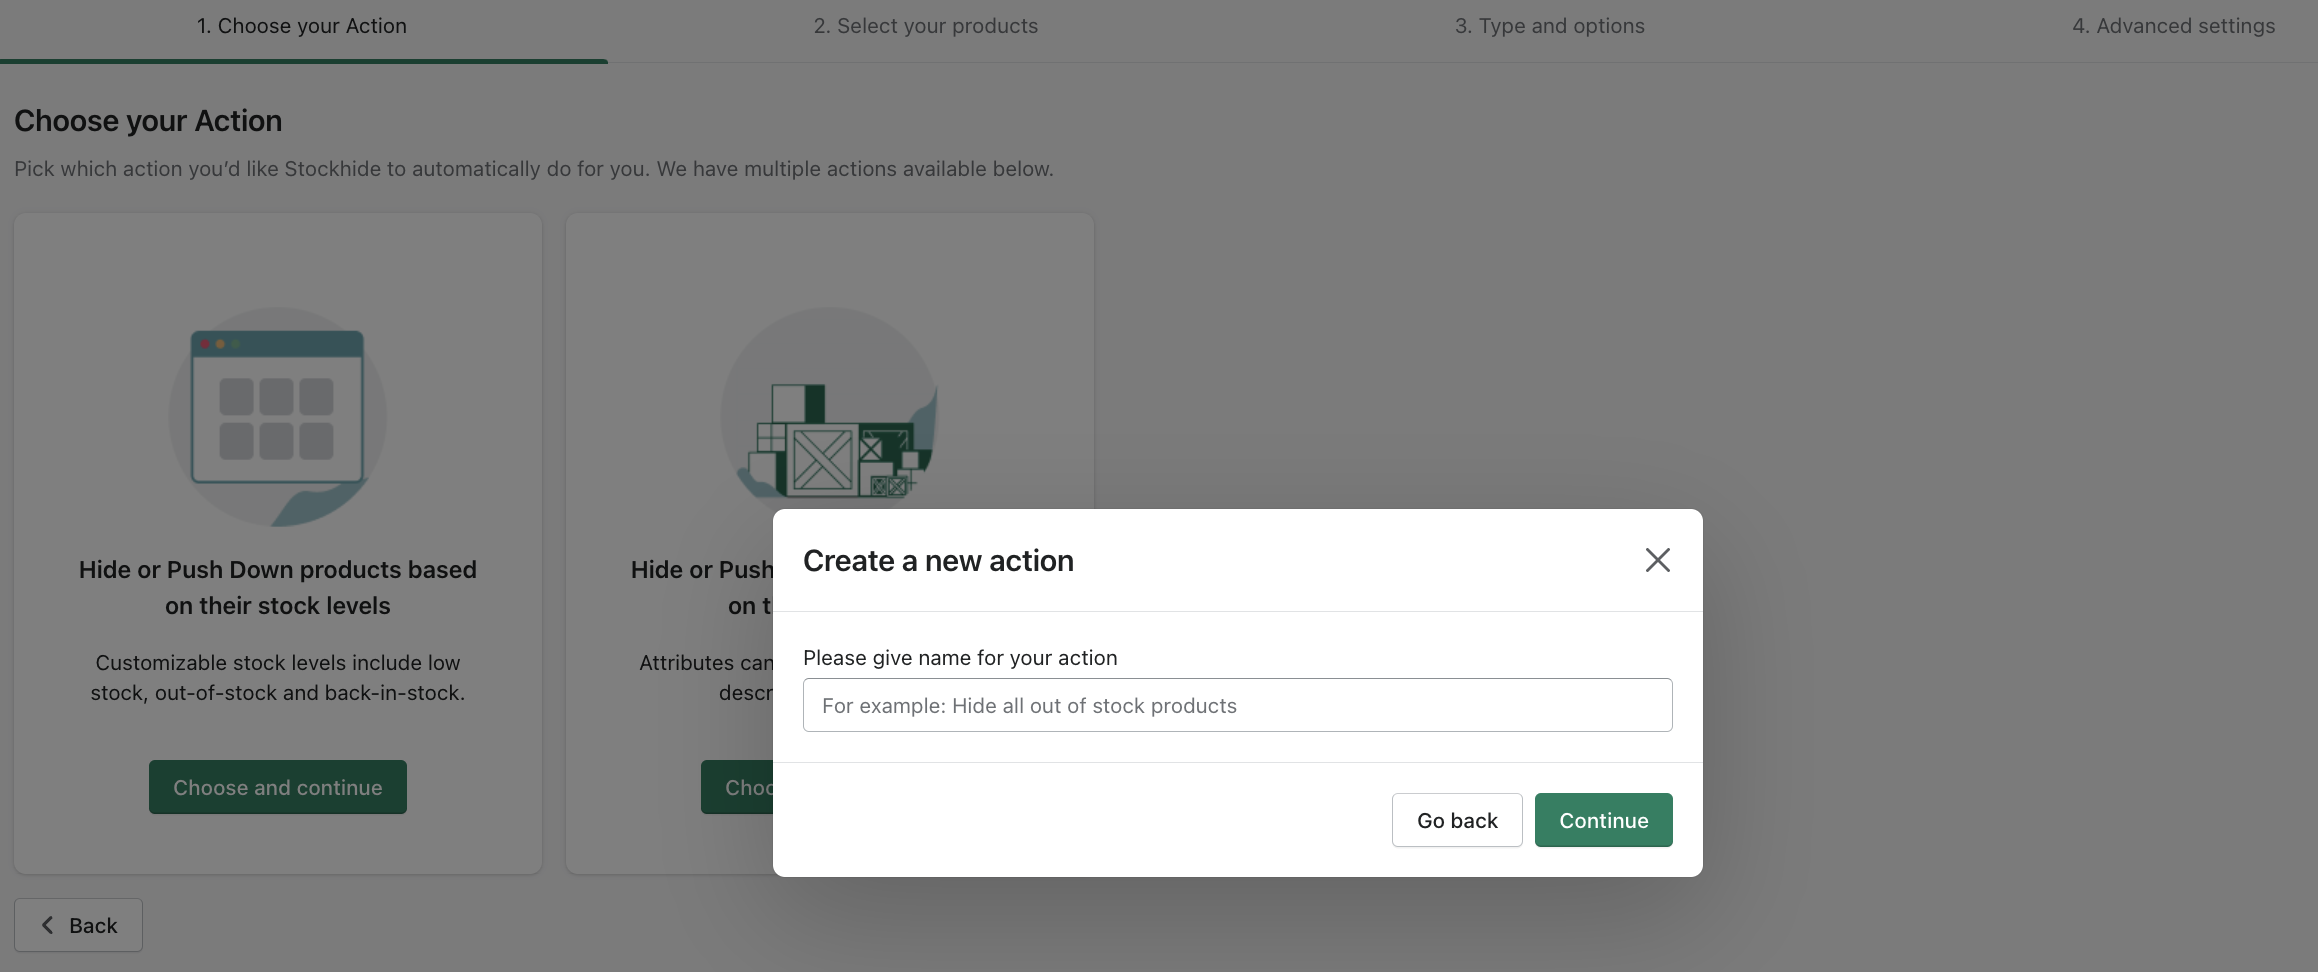
Give your action a name.
Step 2: Adding products to an action
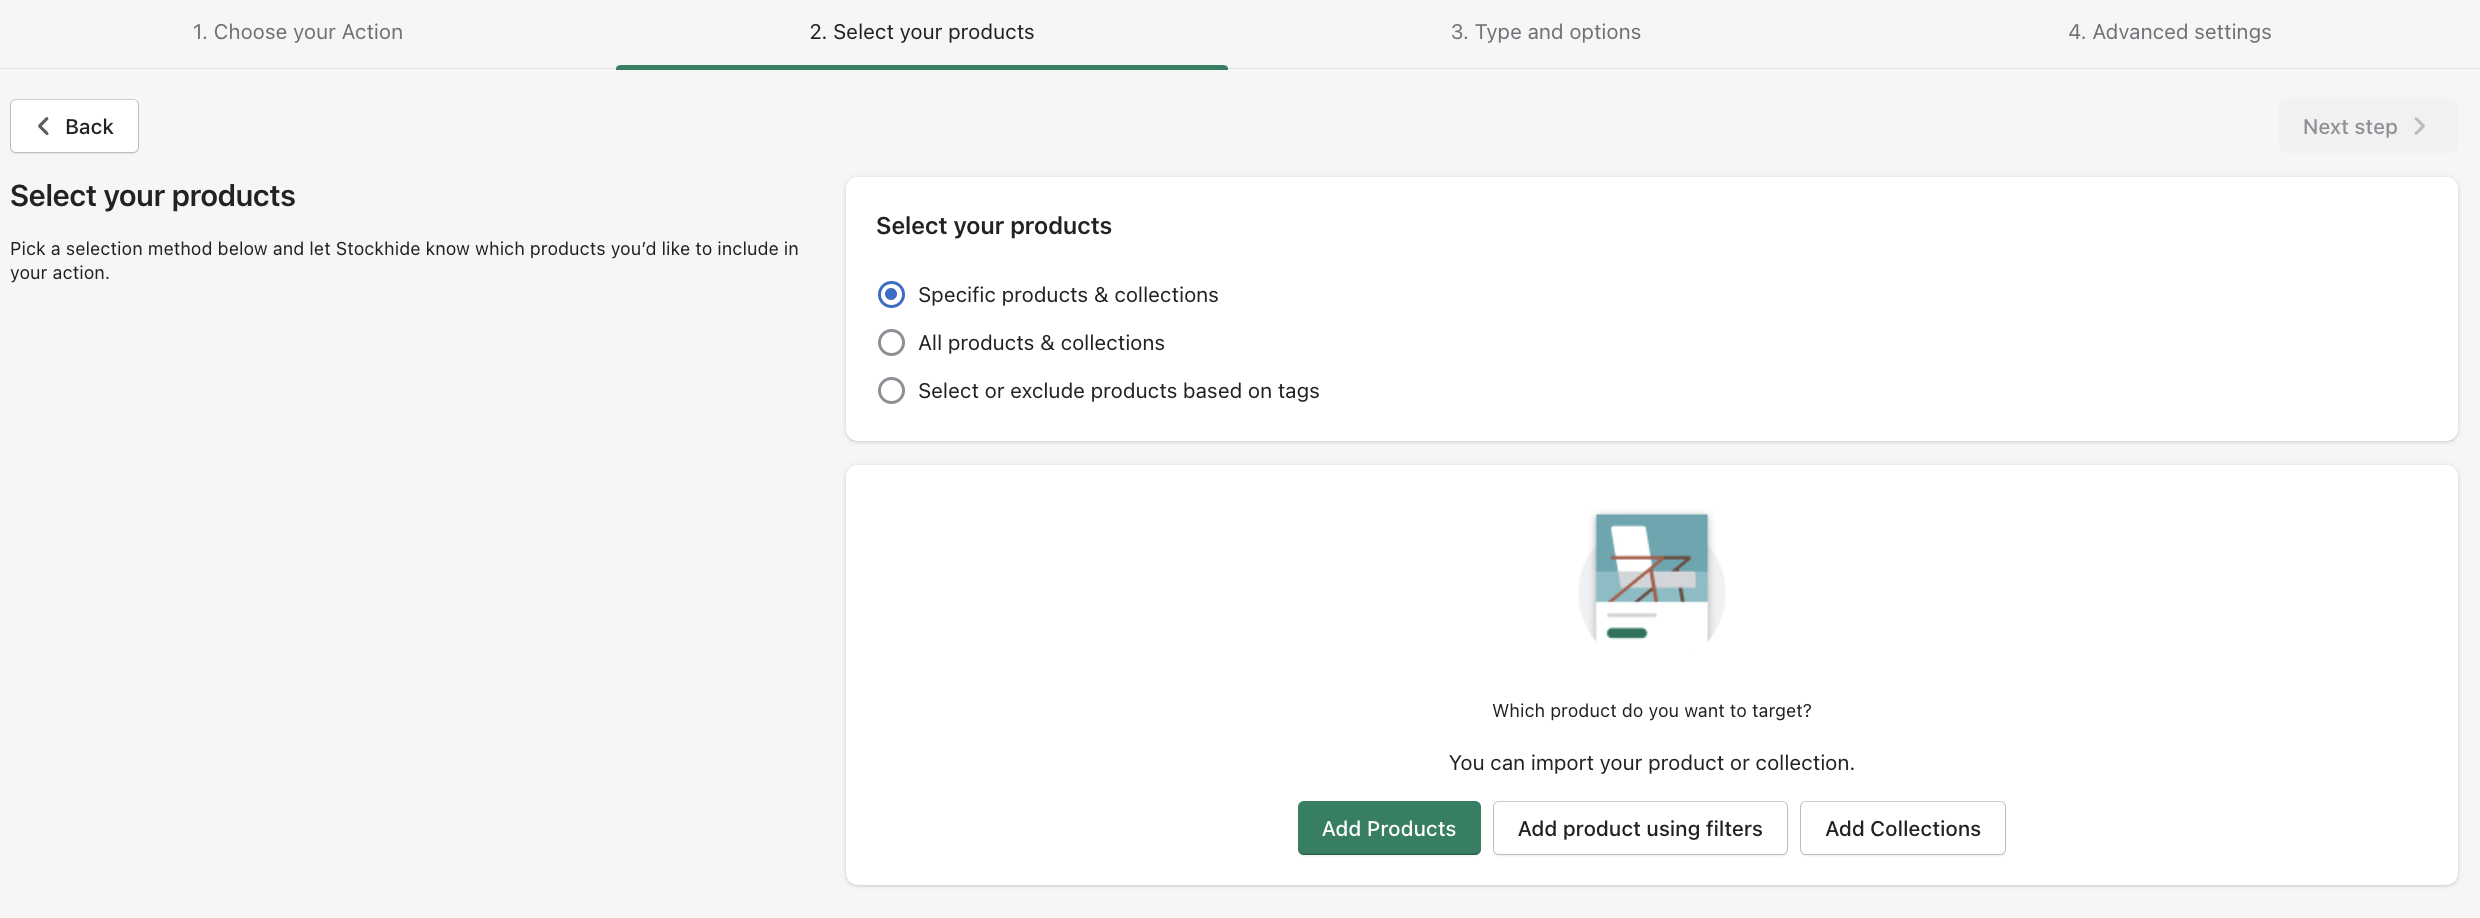
After you have created your action and have given a name to it successfully, you will be taken to the next step where you can add products to your action.
There are three following ways to add products to your action:
Adding specific products & collections
Adding all products & collections
Select or exclude products based on tags
Step 2.1: Adding specific products & collections
If you wish to add specific products, it can be done in the following ways:
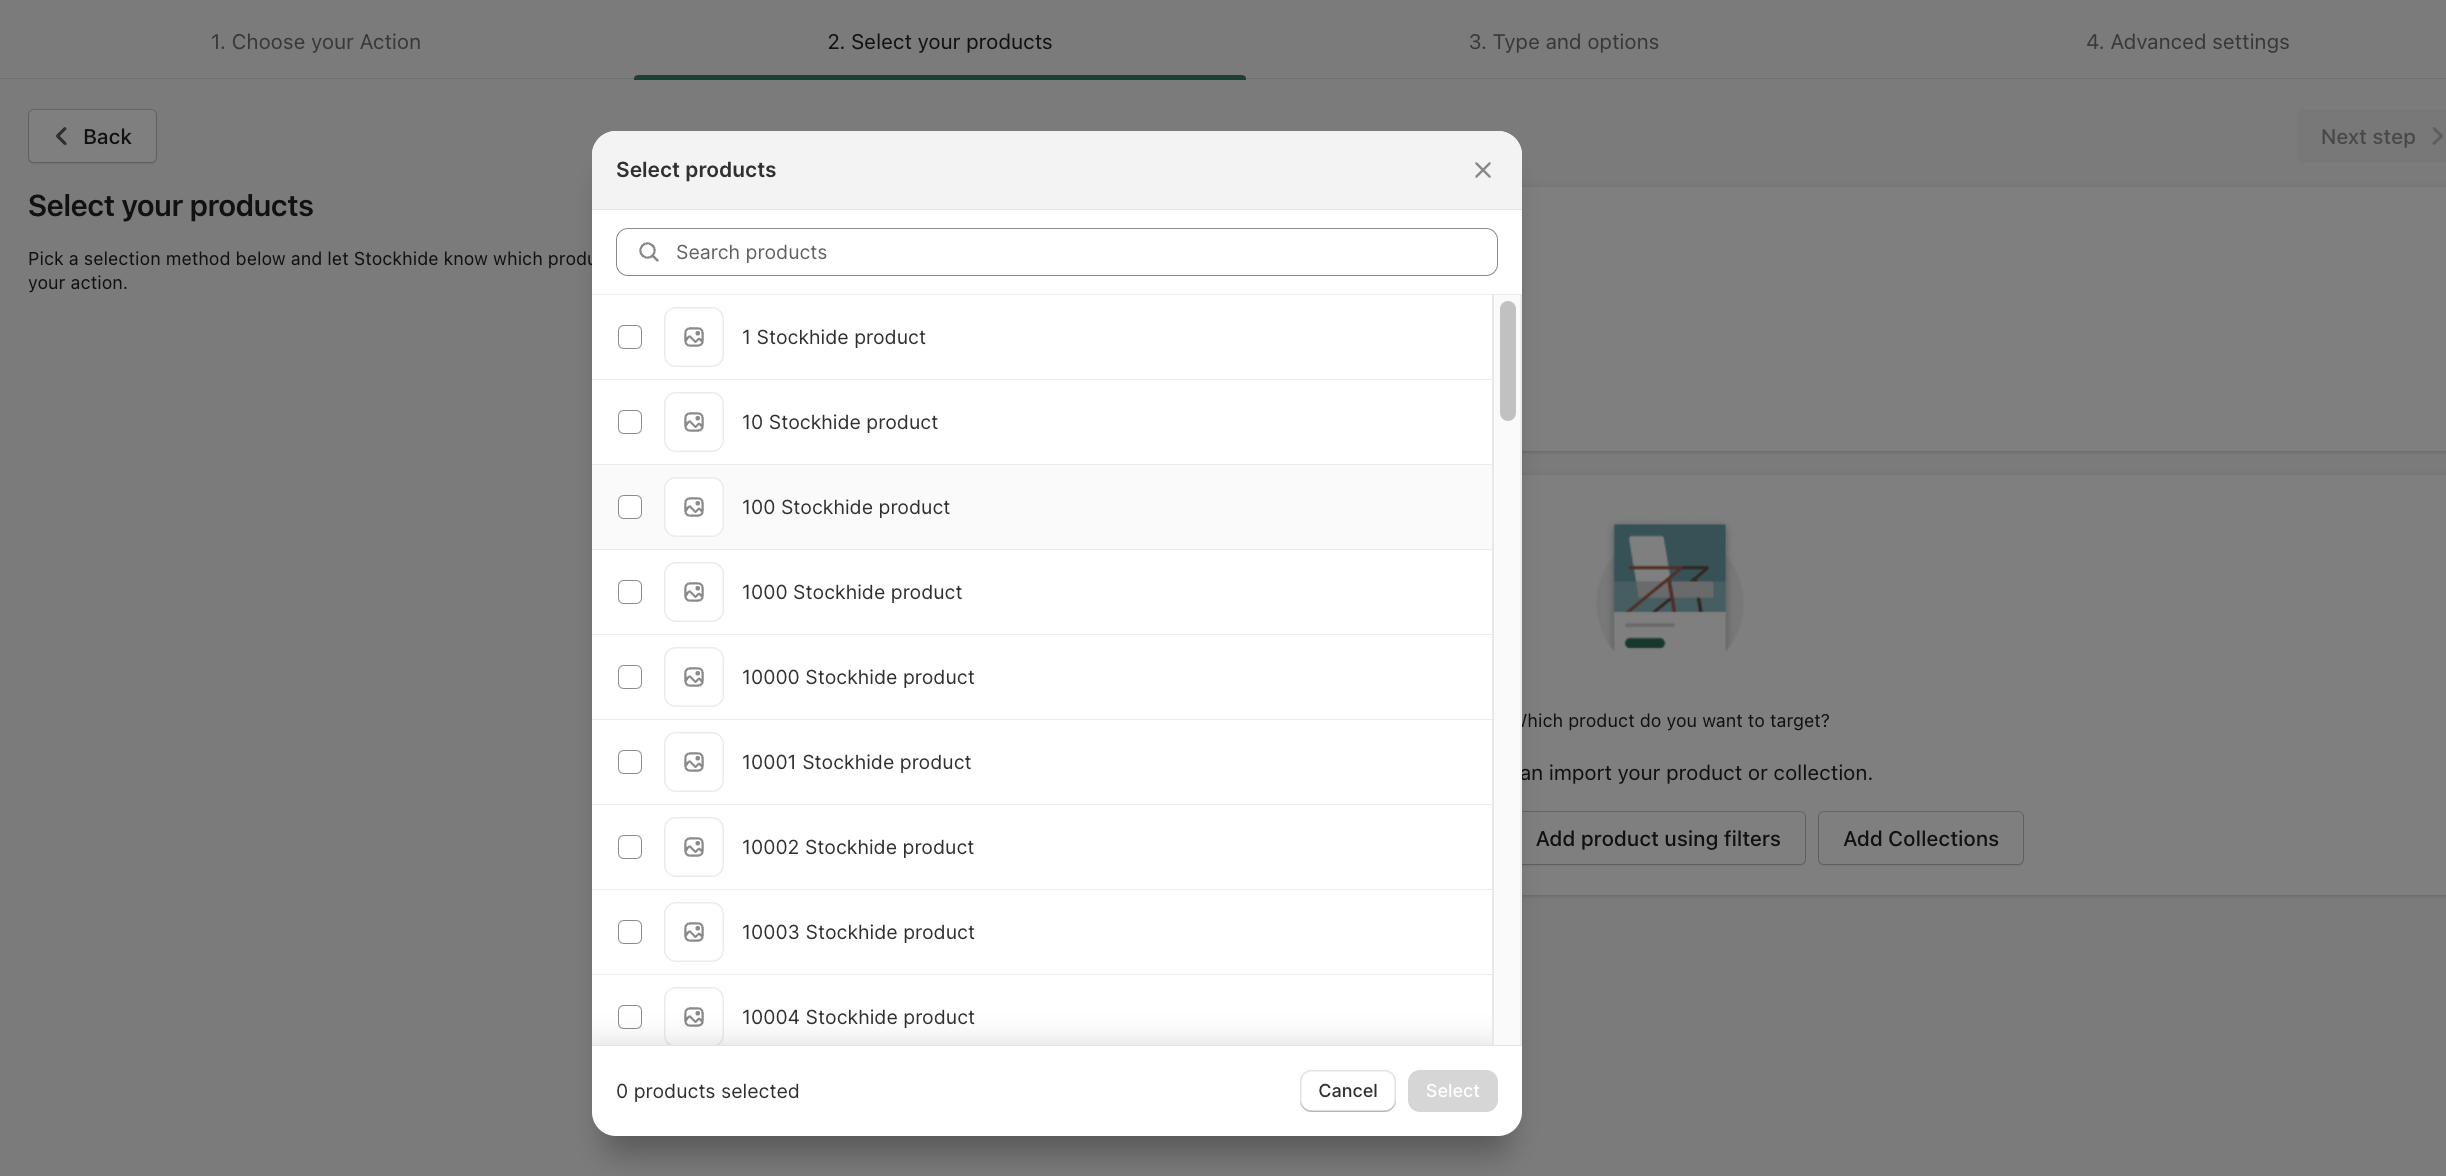
Clicking on “Add products” will let you select products through a list of all active products in your store, simply select the product/products in the list that you want to add and you’re done!
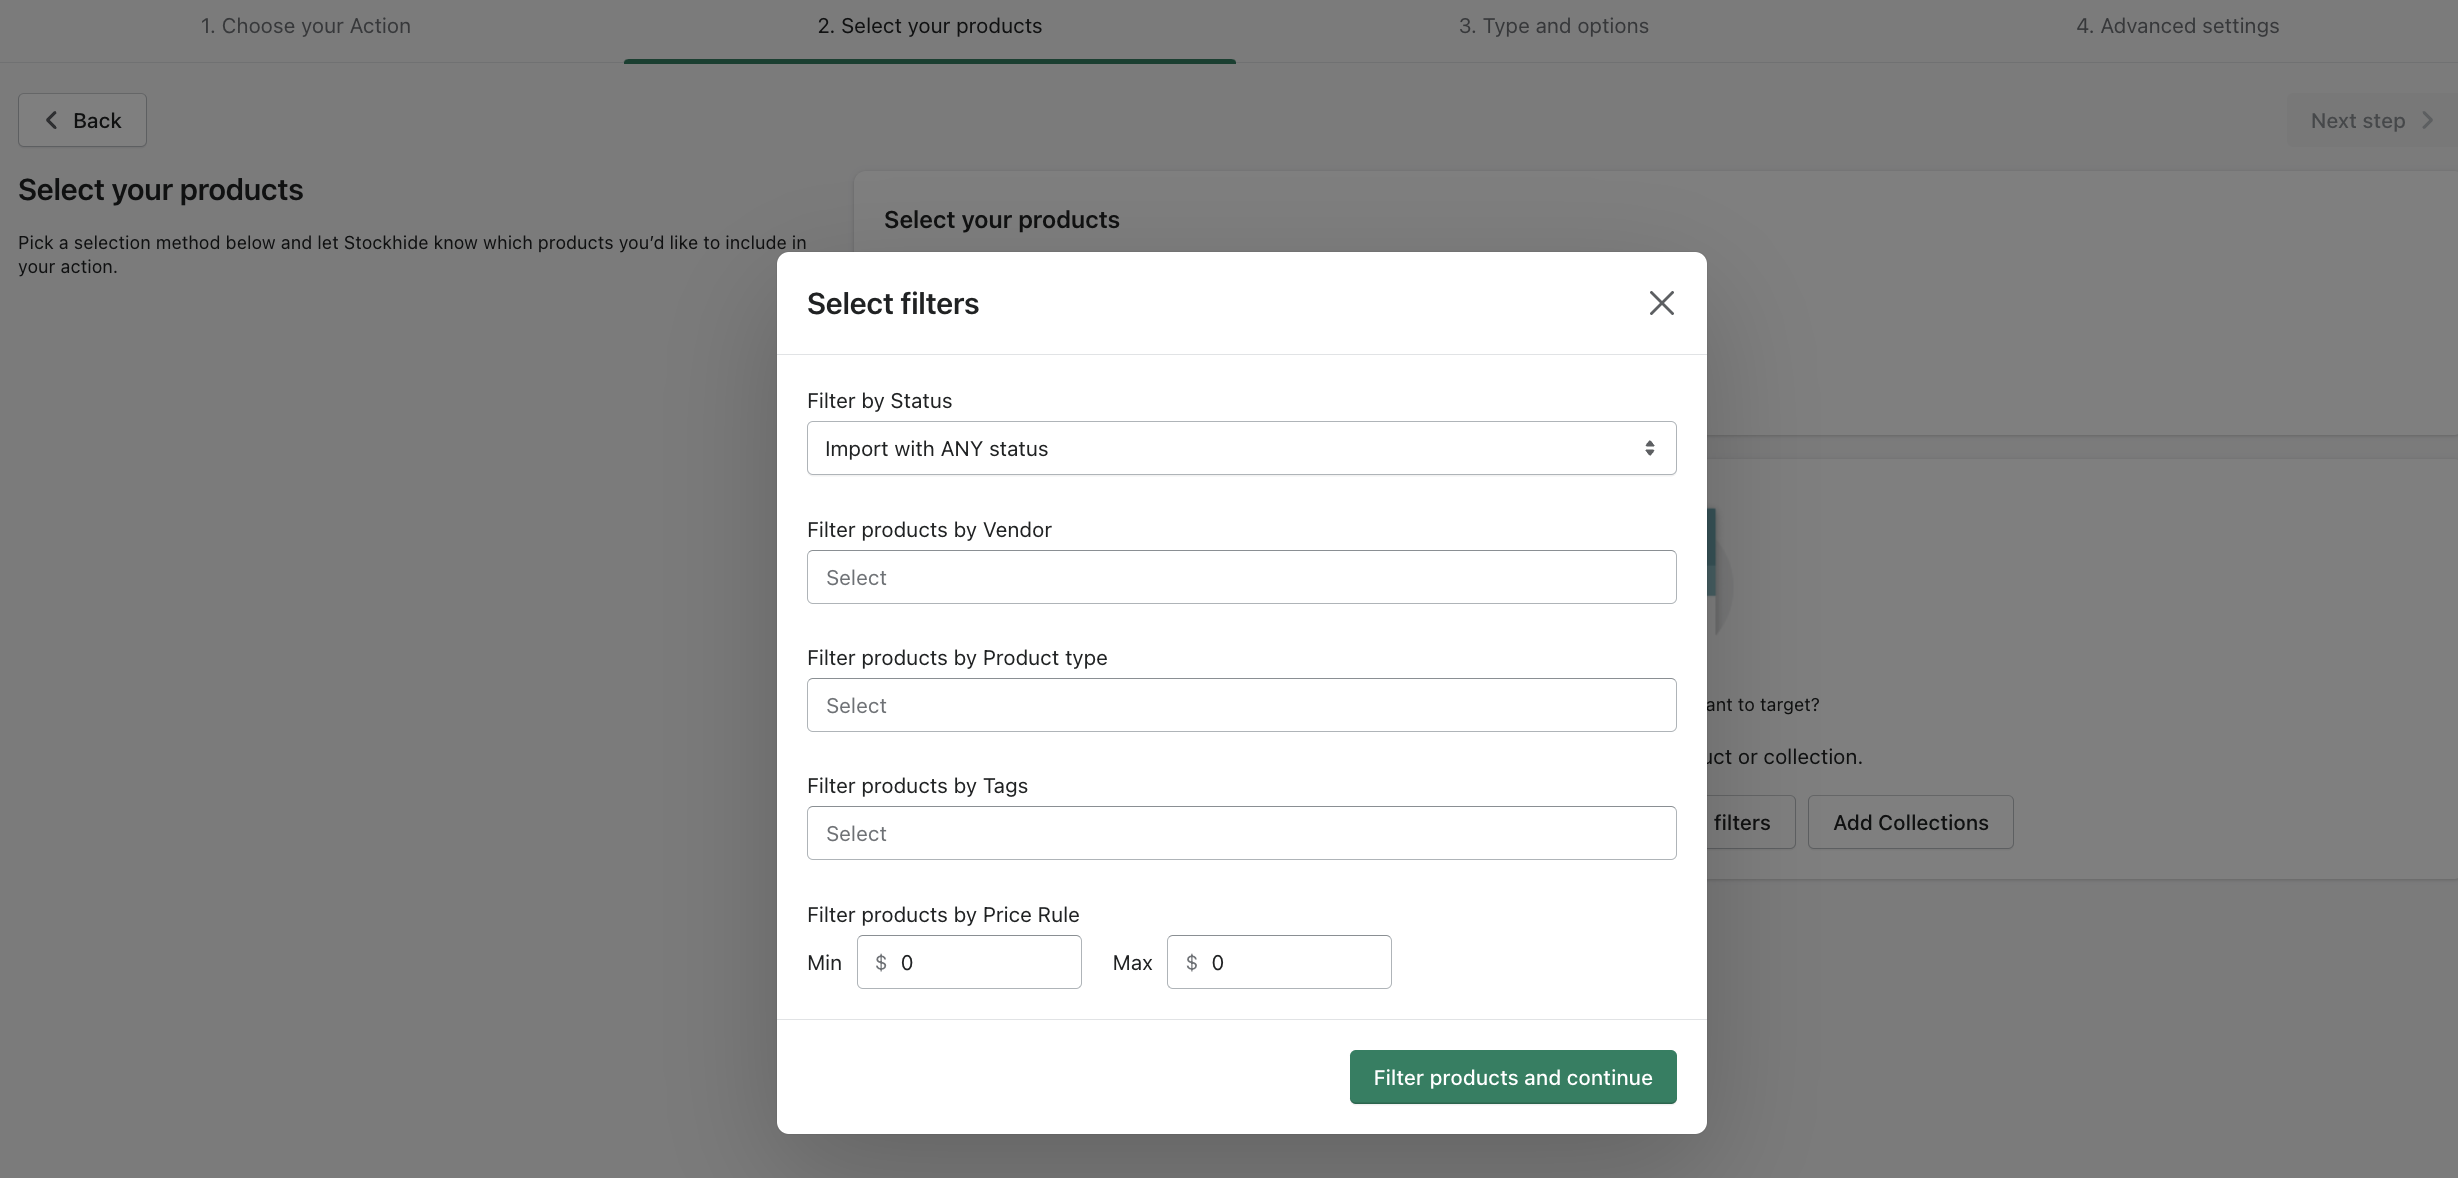
Clicking on “Add products using filters” will show a pop-up with all possible filters such as status, vendor, product type, tags and price rules. Once you set filters based on your requirements and click on “Filter products and continue”, all products that fall in the set criteria will be added, automatically!
Clicking on “Add collections” will show a list of all collections in your store. Selecting any one or multiple collections will add all products in that collection(s).

Step 2.2: Adding all products and collections
If you wish to add all products and collections in your store, you can certainly do that. All you need to do is select “All products and collections” and then click on the “Next Step” button on the top right corner. Once you click it, all Products and collections available will be added.

Step 2.3: Adding selected products through exclude or include filter
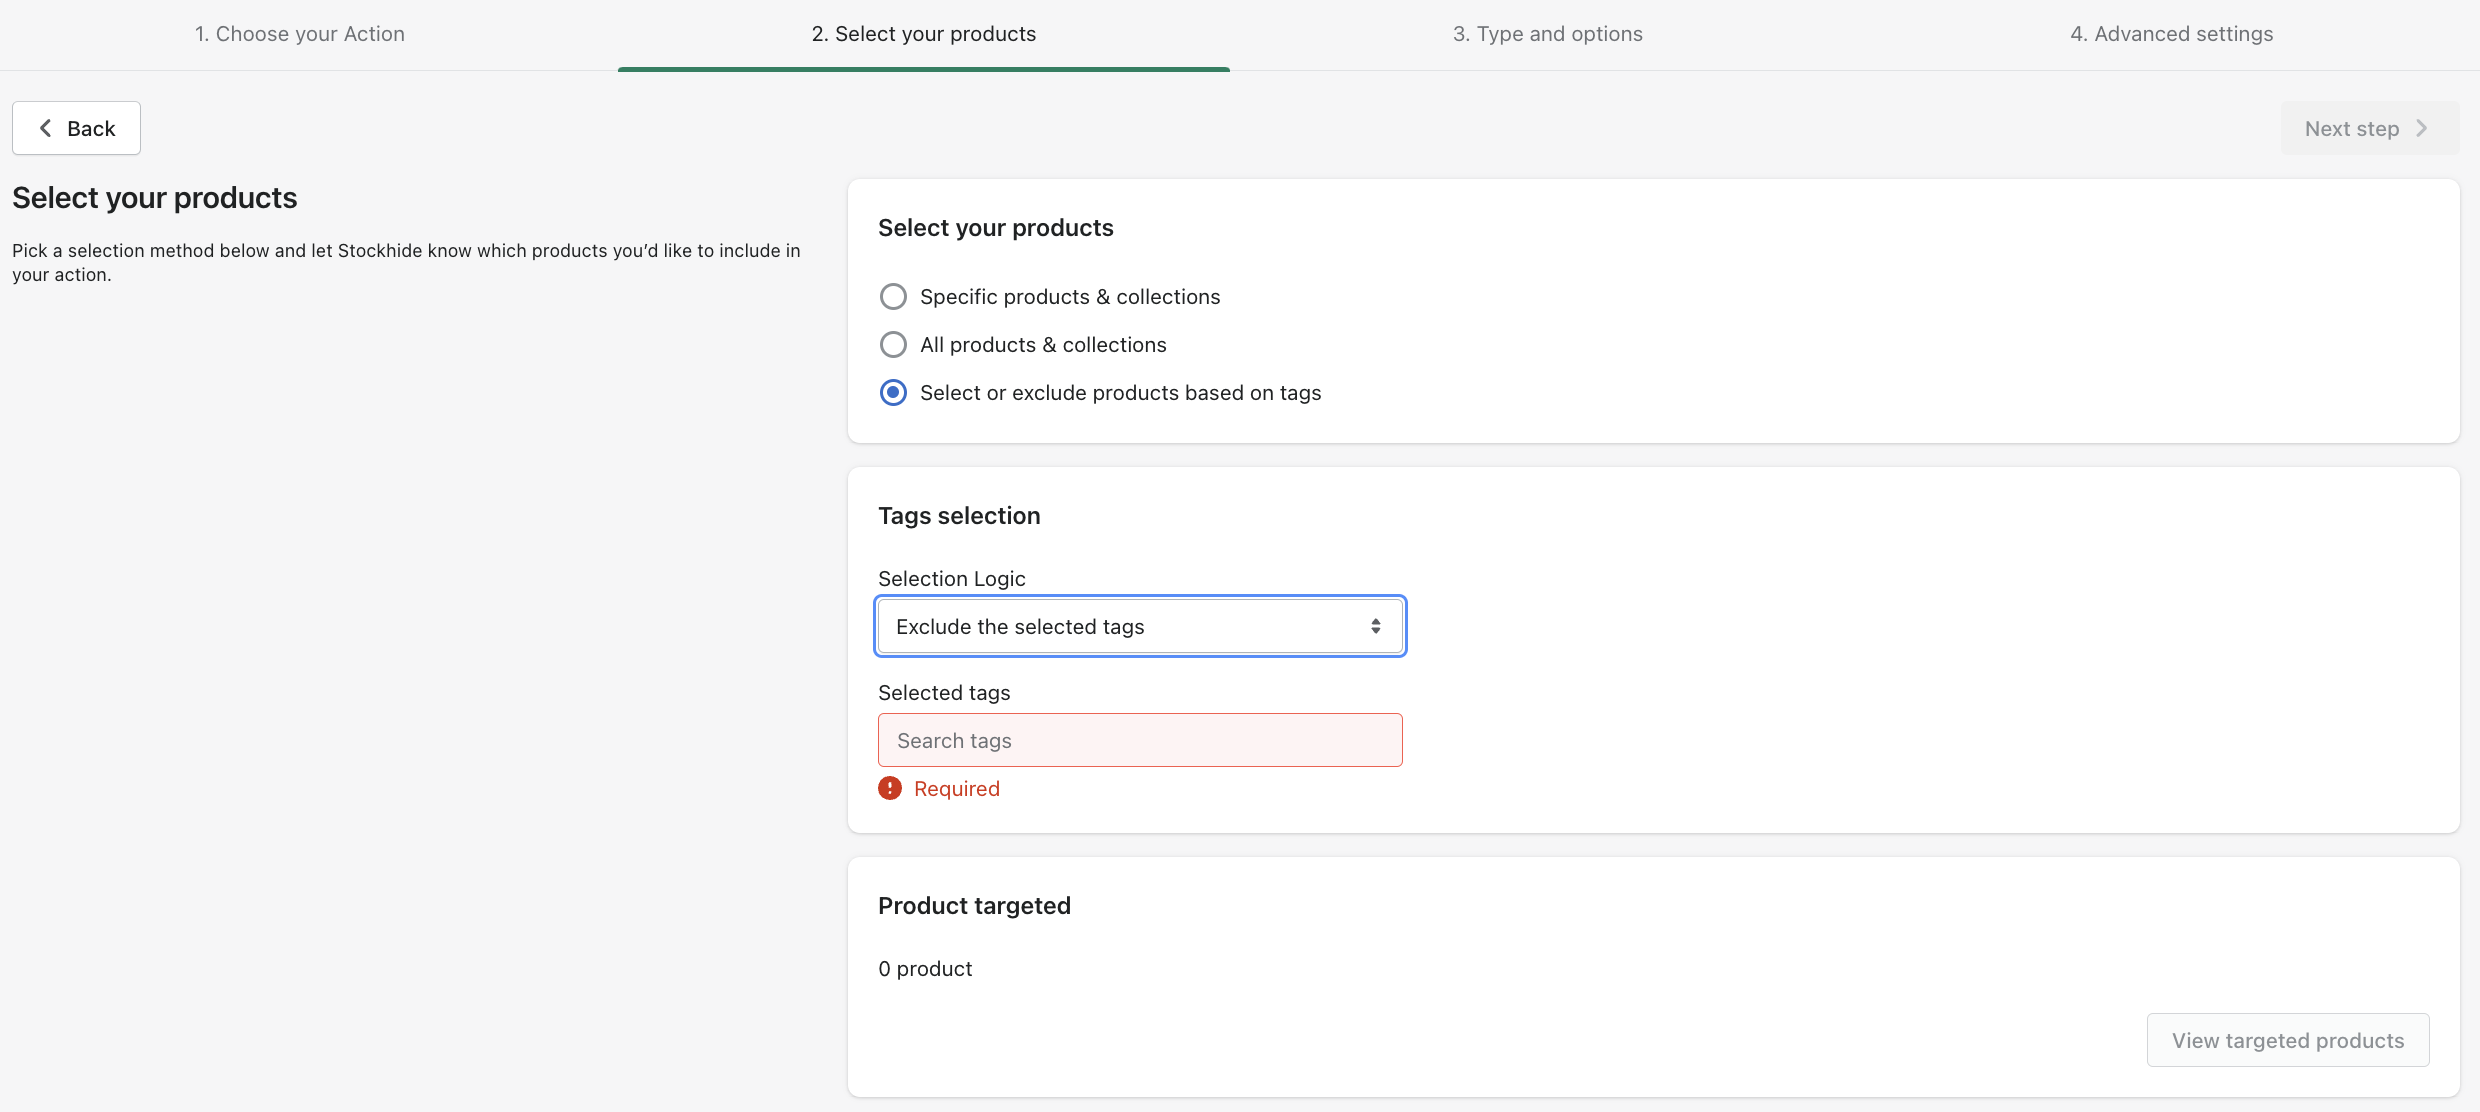
If you wish to save time on filtering and want to add all products except a few, StockHide gives you the functionality to use the exclude OR Include filter and achieve your goal. All you need to do is click on “Select or Exclude Products based on tags”. As soon as you click, you will see a dropdown which will enable you to either include or exclude products based on tags. After you select your desired option, you will be able to add all tags you want to include/exclude.
Once you add all desired tags, all products falling in the criteria will be listed down.
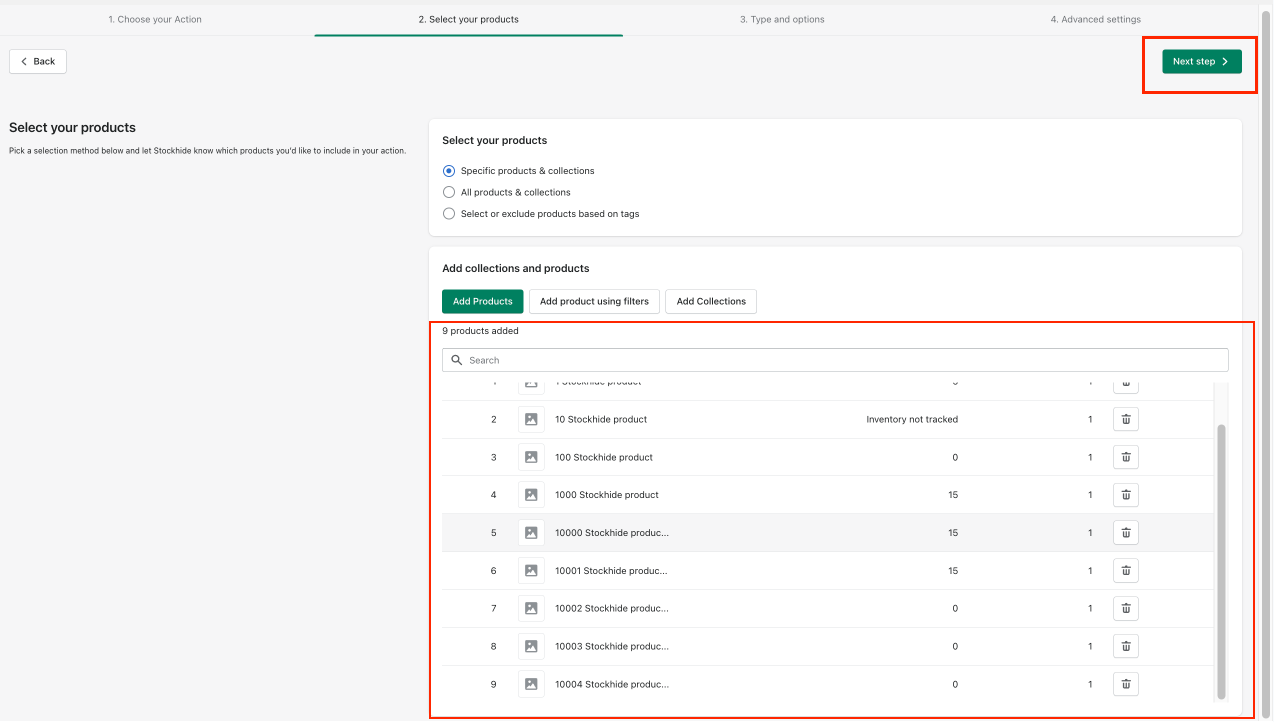
Congratulations! You have successfully added your desired products!
You can view them for a quick check and delete or add products/collections.
Once satisfied with the list, you can click the “Next step” button on the top right of the page and you are done!
Next steps
After you have performed the above mentioned steps, there are other conditions that you can set before completing the creation of an action.
Optional - Setting notification emails whenever an action is triggered. Click here for the guide.
Optional - Adding more triggers when the product is low in stock , out of stock or back in stock.
Required - Setting the schedule or frequency for when you want the action to be triggered. Click here for the guide.
Once done with the above steps, just click on the "Next step" button to proceed.